
This
tutorial assumes you have
working
knowledge of PSP.
I
am using PSP X, but I'm sure
all
versions would work.
This
tutorial is owned by me,
from
my own creativity and no one else's.
Do
not copy or claim as your own.
Any
similarity to any other tutorial is simply coincidence
and
not done purposely.
SUPPLIES:
Scrap
kit of choice
I
used “An Angel's Pain”
By Carrie's Concoctions
It was FTU as one time but Carrie had to make it PTU
because of issues with some of the elements.
Thanks to Carrie for letting me know what happened.
Now you have too puchase
because of issues with some of the elements.
Thanks to Carrie for letting me know what happened.
Now you have too puchase
You
may use any other kits or elements you wish.
Be
creative and make it your own.
Tube
of choice
I
used a beautiful tube by Gaetano Di Falco at CDO
You
must have a license to use his work.
You
can get this and or other great ones
font
of choice
I
used
Young
Love
Plugins
Used
Xero-Fritillary
and Radiance
Lets
begin
start
by making a 650x650px transparent canvas
you
can always resize later depending on what size
your
forum accepts or what size you prefer.
Copy
and paste as new layer frame 4
resize
75%
duplicate,
flip
arrange
to look like they are one
merge
these two layers
drop
shadow of choice
I
used
-2V
3H 80O 5B
use
this throughout tutorial whenever drop shadow is applied
unless
otherwise noted
use
magic wand, click inside frame
modify,
expand by 4
copy
and paste as new layer paper 8
resize
75%
arrange
paper layer behind frame layer
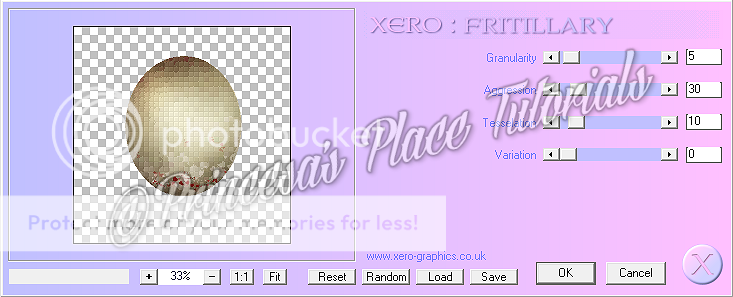
effects,
xero-fritillary
copy
and paste element 15
resize
60%
place
on bottom of frame
drop
shadow
0V
0H 30O 2B
copy
and paste tube (if you used my tube)
resize
90%
use
magic wand, click inside frame
modify,
expand by 6
invert,
delete on tube layer
select
none
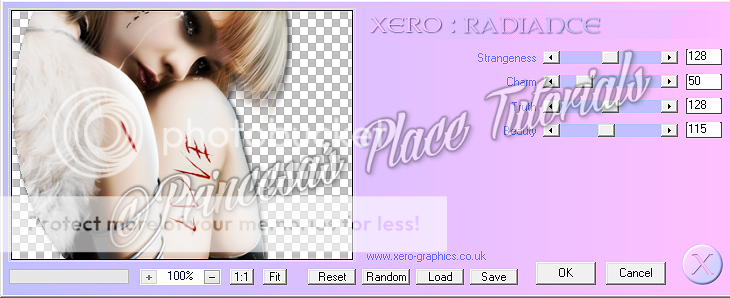
effects,
xero-radiance
copy
and paste as new layer element 19
resize
40%
place
on bottom, middle of frame
see
tag for placement
drop
shadow
copy
and paste as new layer element 23
resize
40%
place
on bottom right of tag
drop
shadow
copy
and paste as new layer element 27
resize
75%
place
on bottom right of tag
duplicate,
mirror
merge
down
duplicate,
flip
merge
down
move
this layer to bottom of tag
copy
and paste as new layer element 9
resize
40%
place
on top, middle of tag
drop
shadow
copy
and paste as new layer element 11
resize
15%
place
on top left of frame
duplicate,
mirror
drop
shadow both layers
copy
and paste as new layer element 12
resize
20%
place
on top middle of frame
drop
shadow
copy
and paste as new layer element ribbon 1
resize
50%
place
on bottom, middle of frame
arrange
layer so it sits behind mask element
drop
shadow
add
artist copyrights, add your name
merge
all visible, save as a png
you
are done.
Thank
you for trying my tutorial.
No comments:
Post a Comment