
This tutorial assumes your
knowledge of Corel Paintshop Pro
and should work well with all versions.
I created this tutorial with my own ideas
and as such do not copy and claim as your own.
Links are current at time of creation of this tutorial.
I will try to keep them up to date as time goes on.
Feel free to email me if you think
any information is in error.
Any similarities to any other tutorial is
purely coincidental
-Princesa 20'
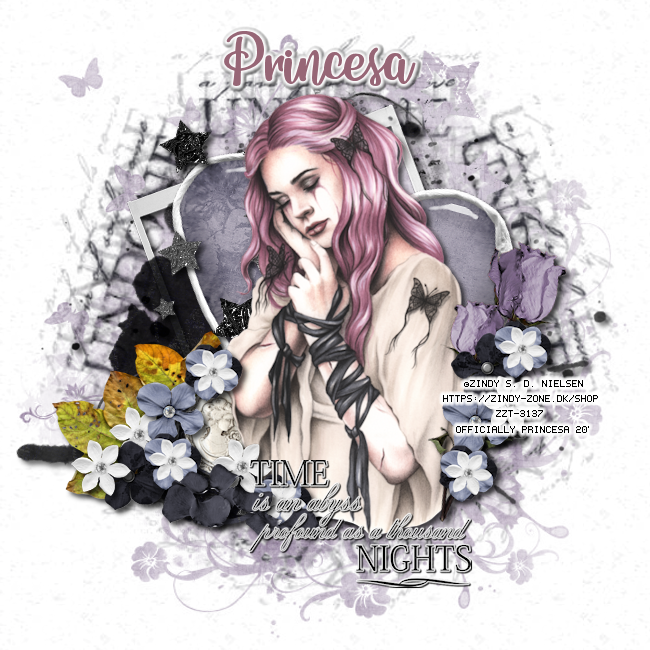
Supplies used:
FTU Scrapkit "Angel Fall" by Chaos Priestess
Tube "Scars of Love" by Zindy Nielsen
Vix_Mask363 and Vix_Mask01
both by Vix PSP
Drop Shadow
4-Vertical 4-Horizontal 70-Opacity 8-Blur
Font
Bunch Blossoms
Plugin
Eye Candy 5 Impact-Gradient Glow
Lets begin:
Open new 650x650 transparent canvas
(or whatever size you prefer)
please use example as reference
for placement
c/p frame 1
free rotate left, 20 degrees
resize 80%
adjust, sharpen
c/p heart element
free rotate right, 15 degrees
adjust, sharpen
c/p star cluster element
c/p divider
resize 70%
add new raster layer
select all
c/p paper 3 into selection
select none
load Vix_Mask363
merge group
send to bottom of tag
add new raster layer
select all
c/p paper 6 into selection
select none
load Vix_Mask01
merge group, send to bottom
behind previous mask layer
add your tube, resize and arrange
c/p flower 1
free rotate right, 15 degrees
resize 70%
adjust, sharpen
c/p flower 3, 4 and 2
merge flower layers
resize 20%
duplicate and arrange as shown in example
you may add as many flowers as you like
I added single flowers 2,3 and 4
duplicated them a couple times
all resized to 25%
c/p word art
resize 40%
use plugin eye candy 5 impact-gradient glow
default settings
#fffff color
add drop shadows
add copyright info and name
merge visible, save as a png
you are done.
Thank you for trying my tutorial
-Princesa
Moon
Thank you

Shaz
Thank you

Pammers
Thank you

No comments:
Post a Comment